Empty that bottle of "God's Water" and soak it in warm water while you sleep to get sober again. After about half an hour you should be able to remove the labels without destroying them. You can either let them dry or iron them, which is what I did. This makes it easier to scan them too. |
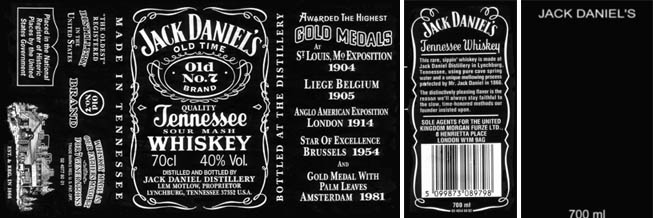 |
Above you can see the scanned and retouched textures for the labels plus a custom bump map for the bottle itself. |
 |
This one is used for the neck wrapper. It was impossible to scan so I had to make it from scratch, which wasn't too hard since everything you need is already on the front label. (I know what you're about to say: "impossible to scan?! Bill Fleming even scans strawberry jam..." what I meant was; it would have been too distorted so this was the easiest way) |
|
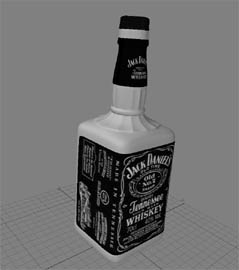 |
The front label is the only surface where UV-Mapping is needed. The neck wrapper is just mapped cylindrically. Let's have a look at the label surfaces first. |
 |
As you can see, the scanned textures where used on the color and bump channel. If you look real closely at a JD bottle's label, you'll notice that the black background is a little depressed and not perfectly smooth. |
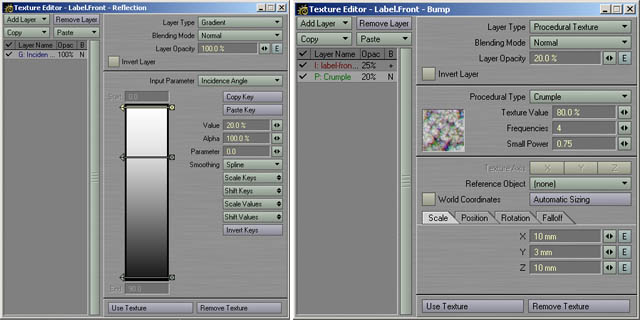 |
That's what the second bump texture is for. It's a crumple texture, squashed along
the y axis. |
previous |
next |